Riddick 165 (EaRL) Construction Photos
Riddick 165 Education and Research Laboratory (EaRL) images:
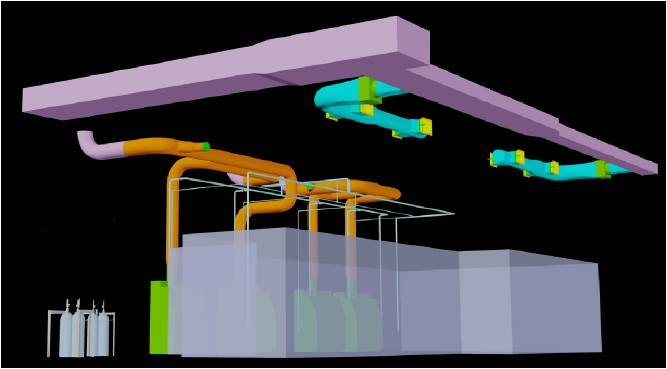
Above: Artistic rendering of the final facility.
01-09-11
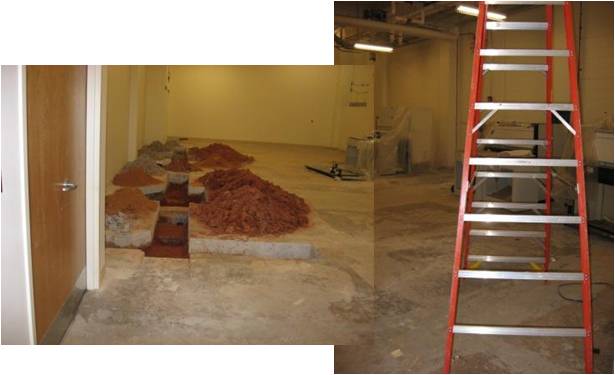
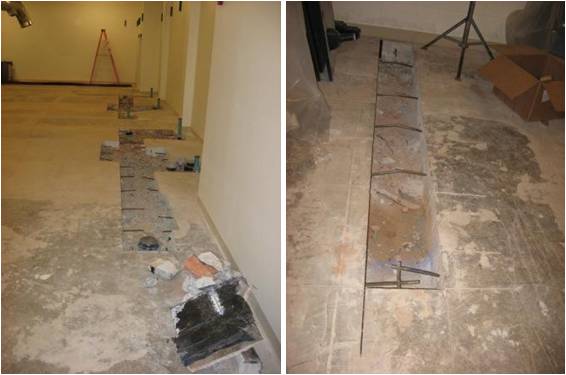
Above: Cutting the concrete slab for the fume hood drains.

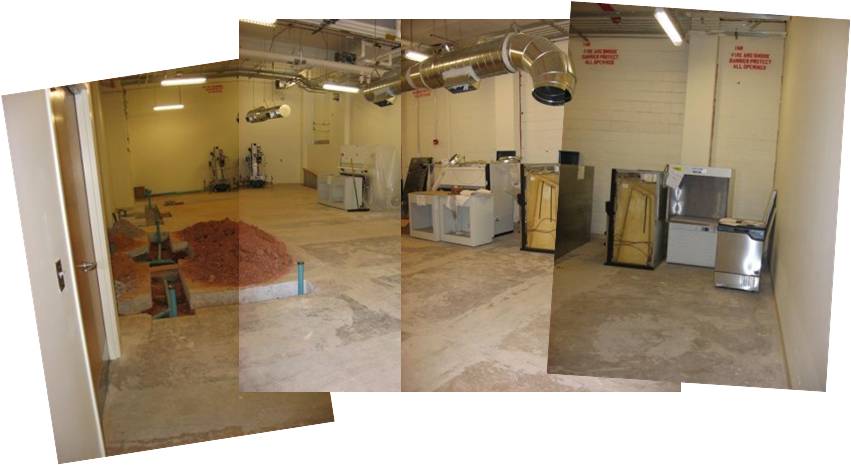
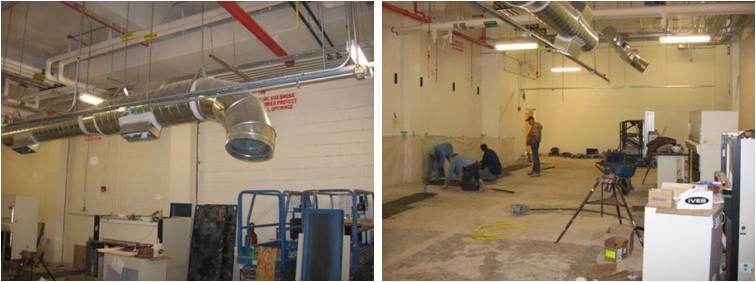
Top Left: Fume hoods, dishwasher, and laminar hood.
Top Right: One acid drain line is finally located about 5 feet below the slab.
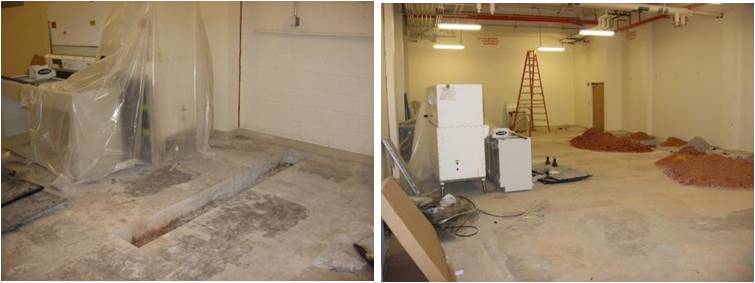
Top Left: Slab cut to eventually mount the plasma etcher power receptacle.
Top Right: Room view from the infamous "door-in-the-wall"; i.e., southwest corner looking towards the northwest.
01-11-11
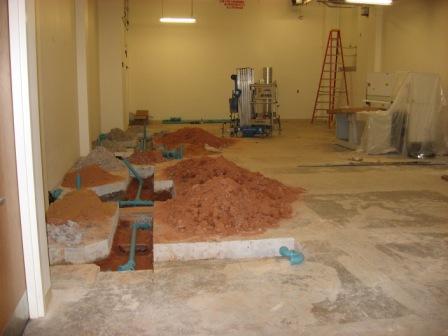
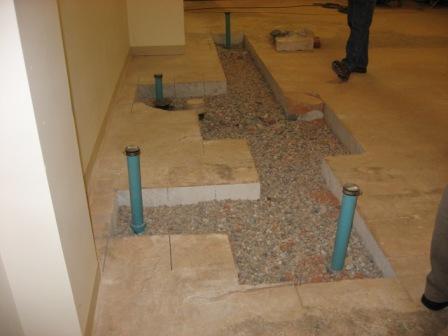
Above: Acid drain PVC piping is laid for the fume hoods and safety eyewash shower stations.
01-15-11
Above: Panorama of the room looking from the northwest corner.
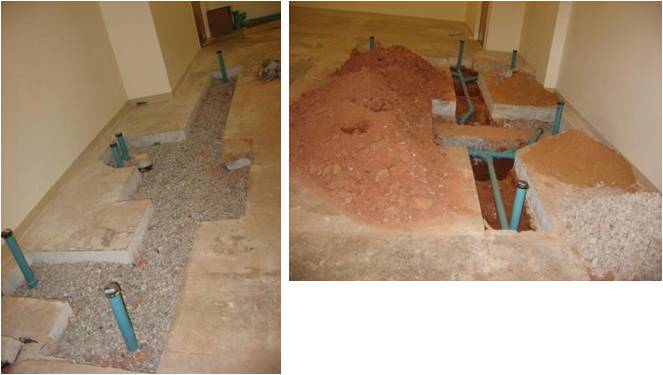
Top Left: Drain piping for class 1000 module fume hoods and eye wash are backfilled in with dirt, sand, and gravel.
Top Right: Drain piping for class 10,000 module equipment.
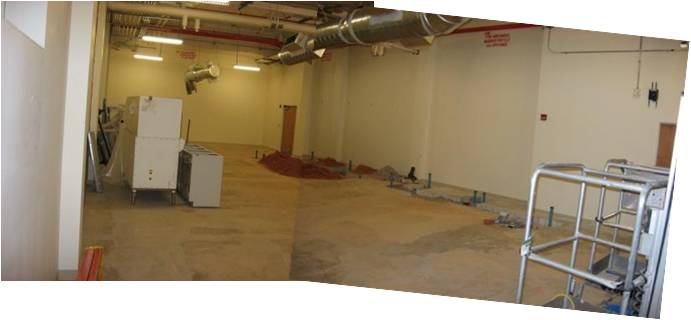
Above: Panorama of the room as seen from the southeast corner.
01-18-11
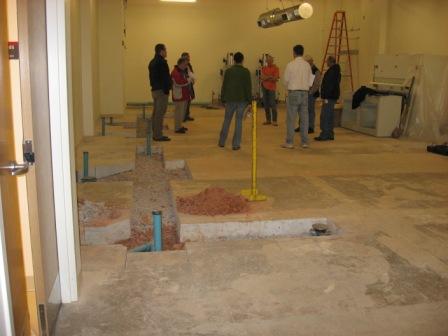
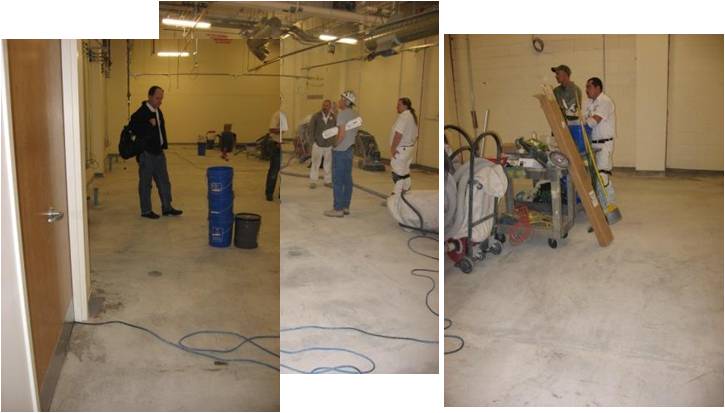
Above: Weekly construction progress meeting.
Above: Drainage piping areas are backfilled with dirt, sand, and gravel.
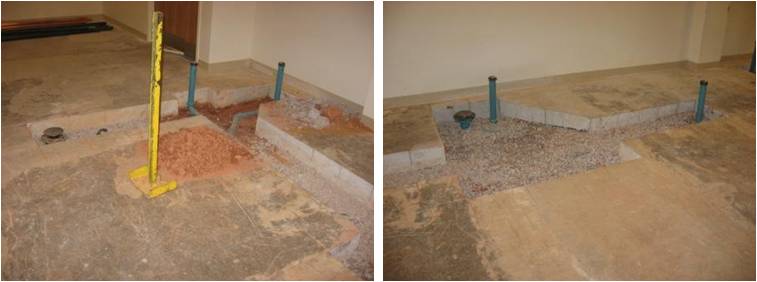
Top left: Checking out an apparent water leak before re-filling the hole.
Top right: Backfilled and leveled.
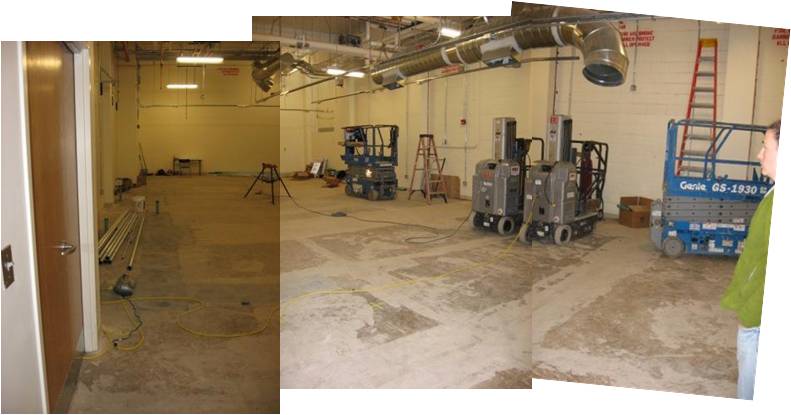
01-21-11
Above: Room view from the northwest corner.
Top left: View from northeast corner looking southwest.
Top right: View from southeast corner looking northwest.
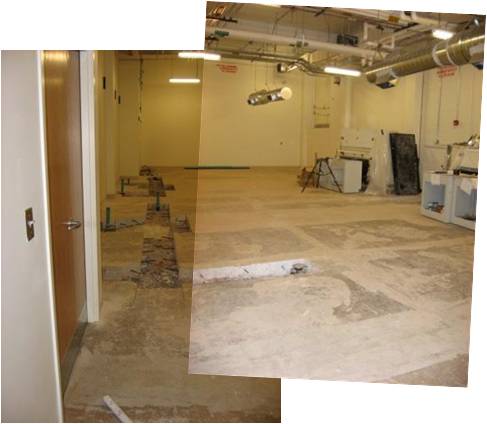
Above: Reinforcement steel bar (rebar) is inserted to increase the tensile strength and material cohesion between the new patched concrete areas and old existing slab; now we are ready for concrete!
01-29-11
Concrete pouring day finally arrives!
Top left: Path to wheelbarrow the concrete in through the back door of Riddick.
Top right: Filled drainage piping.
Above: Working to smooth the concrete.
Above: Room montage.
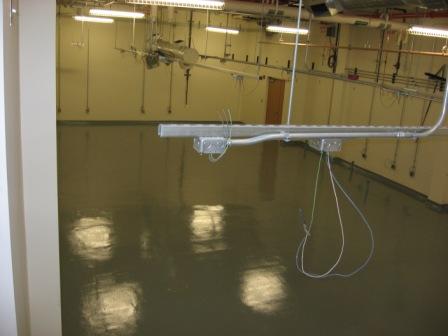
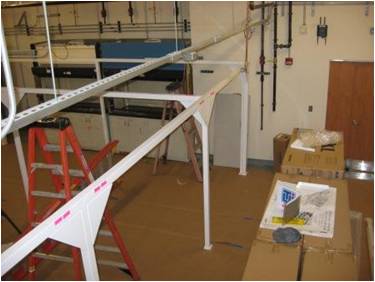
Above: Unistrut for the electrical conduit is in place; for scale, the clean modules will eventually be located underneath these struts.
02-06-11

Above: Supports for the overhead electrical drops to power the fan filters, light units, fume hoods, and scientific equipment start to give a sense of the shape of the modules.
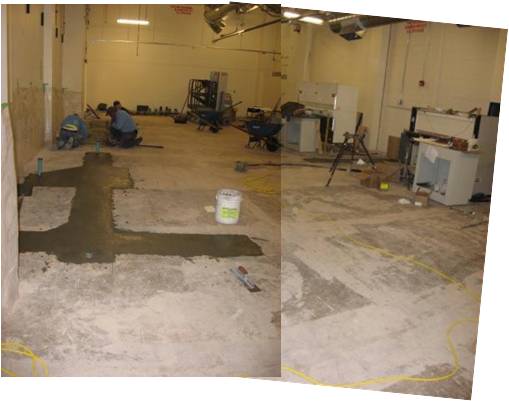
Above: Room montage as the concrete continues to dry.
02-15-11
Above: The new concrete has dried. Room view from northwest corner.
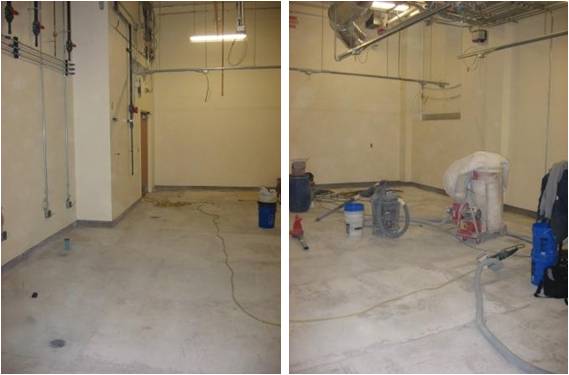
Above: The floor has been sanded to smooth and prepare it for the epoxy paint.
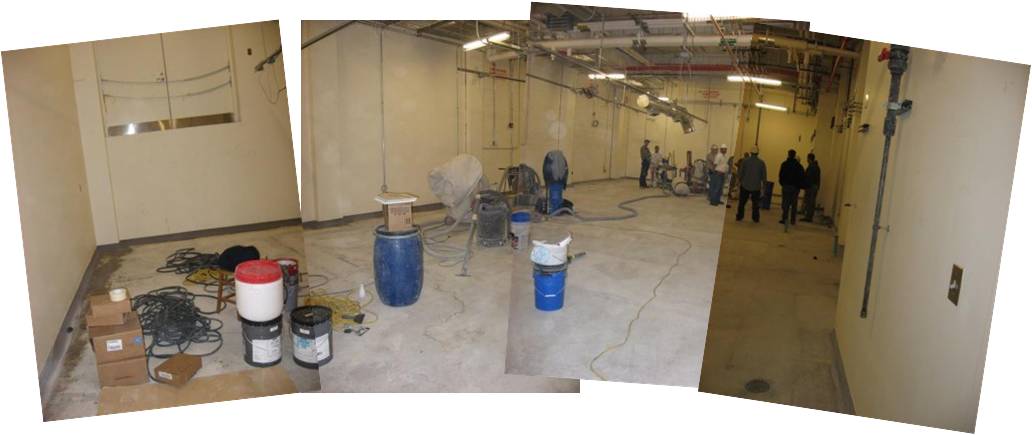
Above: Room montage from the northeast corner.
02-16-11
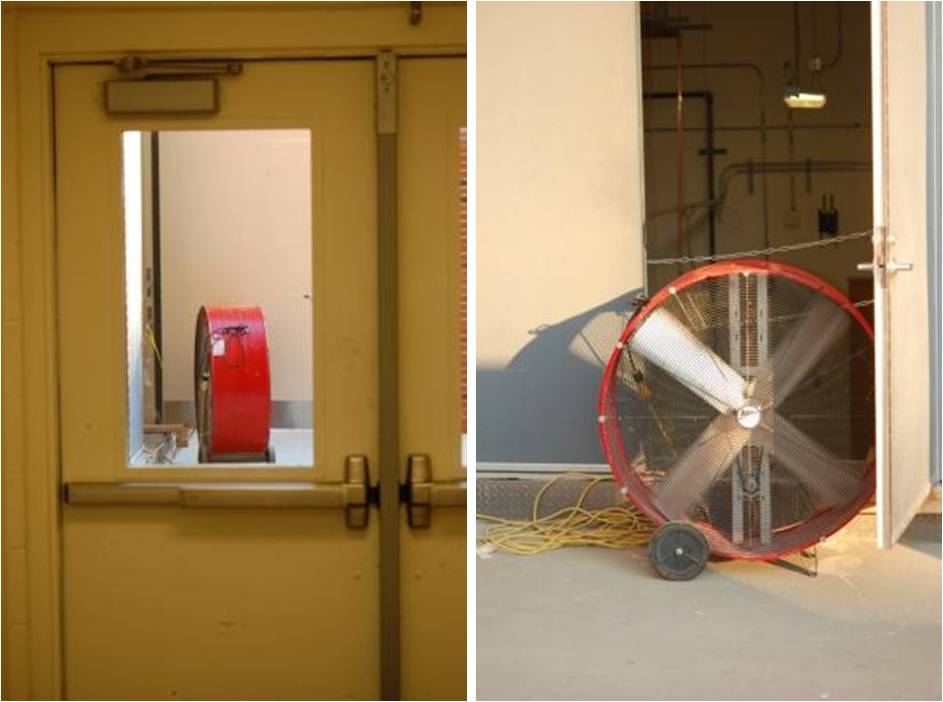
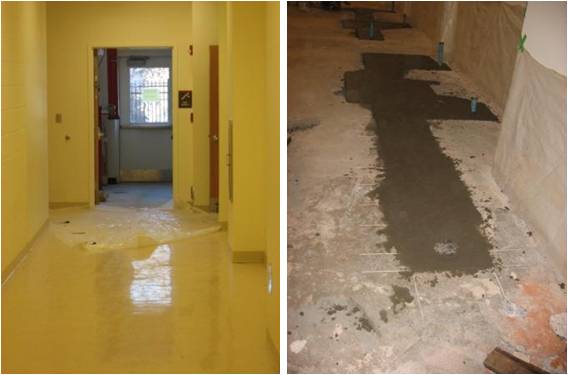
Left: Red fan to ventilate room. Right: Best use of the "door-in-the wall" to date.
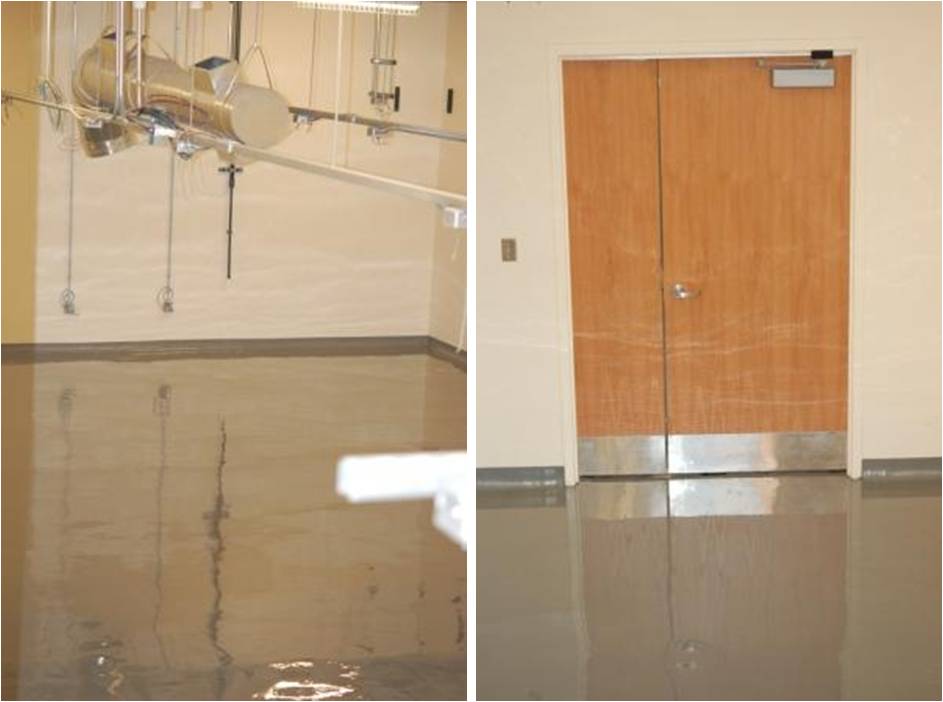
Above: Epoxy paint "battleship gray" has been applied to the floor. Wet floor looks like glass.
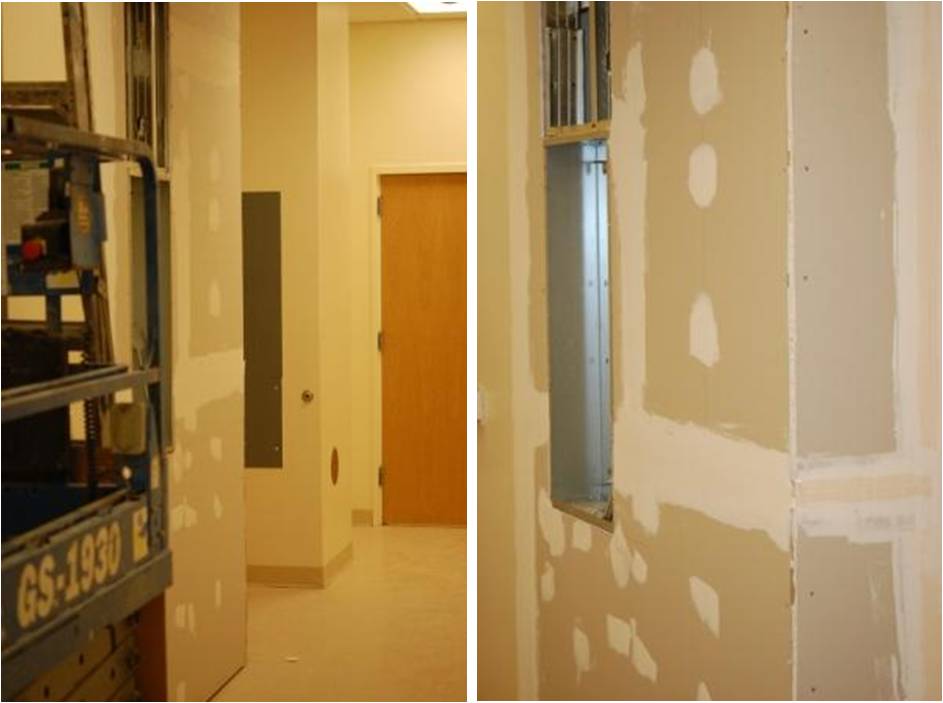
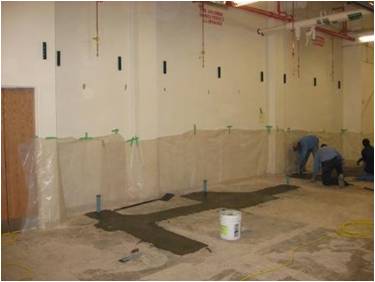
Above: New panelbox requires a new, deepwe wall section.
02-20-11
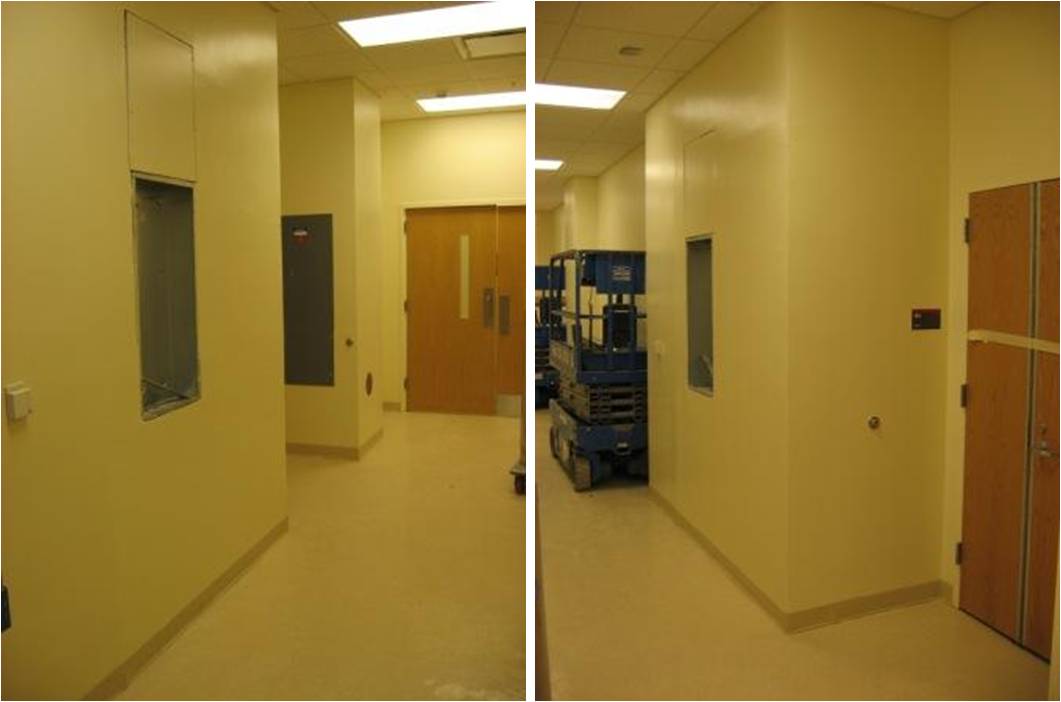
Left: After a coat of paint, the panelbox is ready and the hallway looks great.
Above: The epoxy floor paint is almost dry!
03-04-11
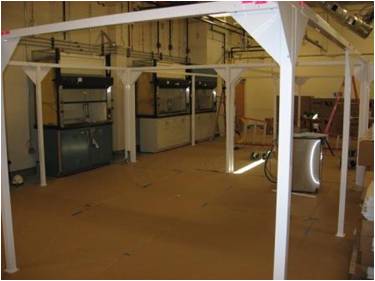
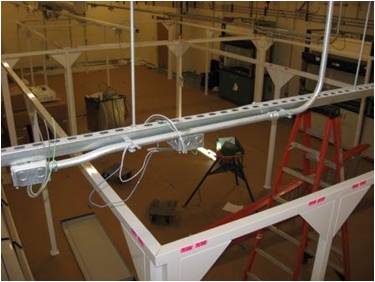
Top: Three (of four) fume hoods and the modules frame.
Above: Panoramic view of the frame for the modules.
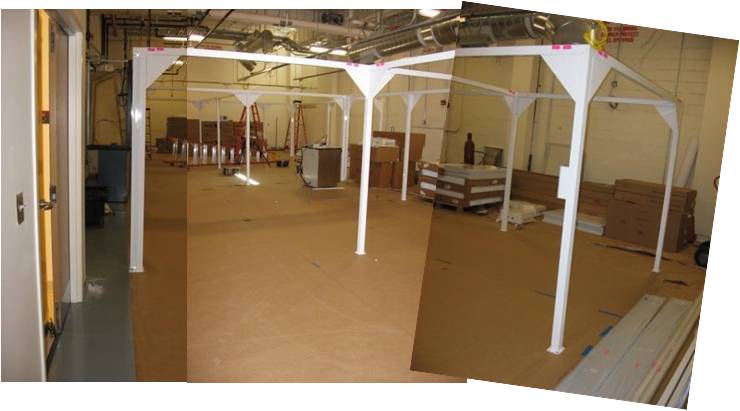
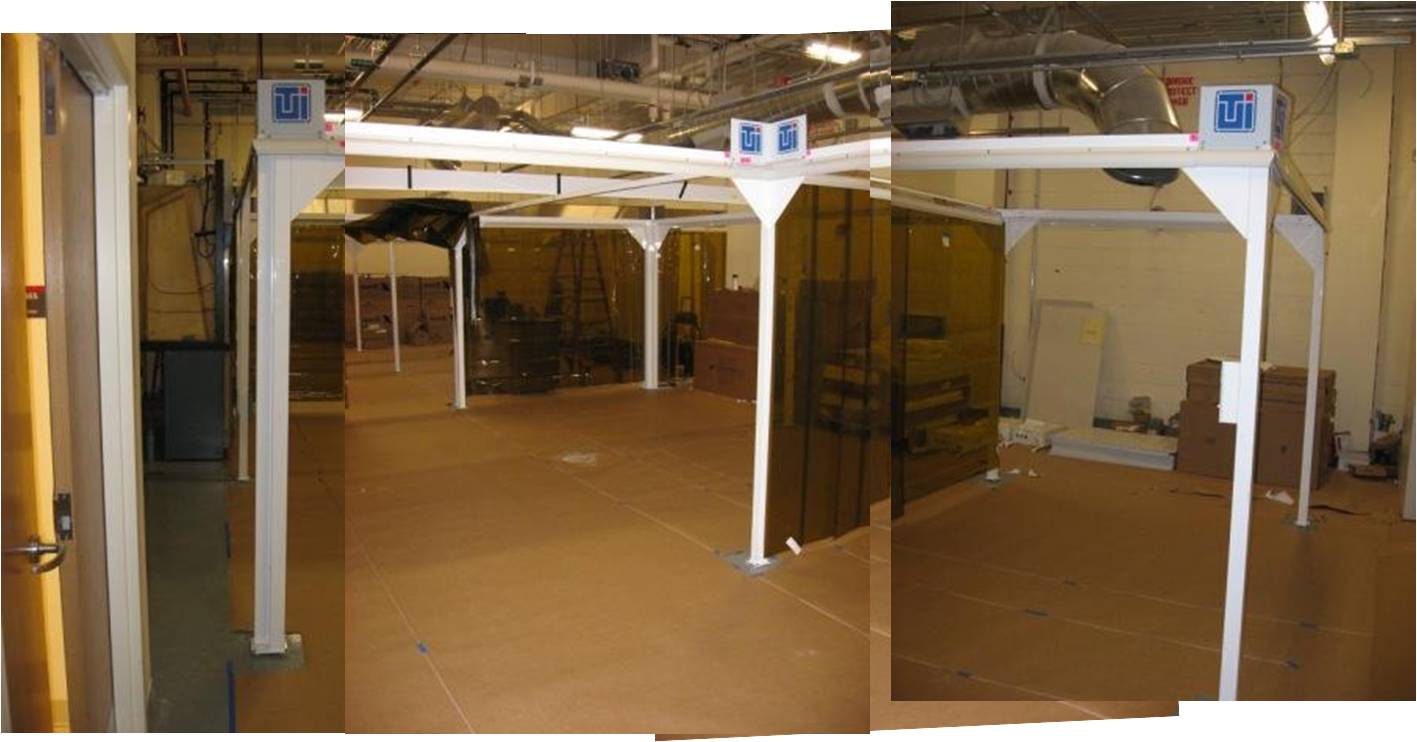
Top: View from southeast corner looking north.
Above: The view from the door-in-the-wall gives a sense of the scale and shape of the lab.
03-12-11
Top: Panorama view.
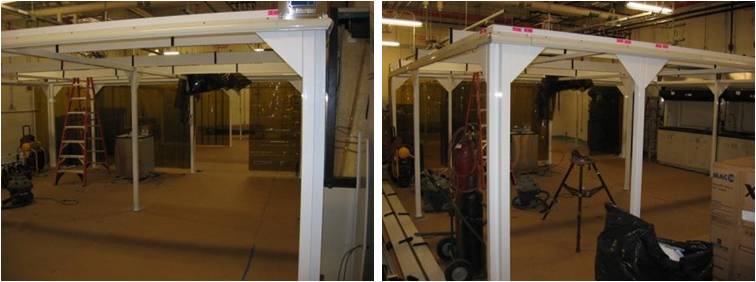
Left and Right: Views of the 20' x 20' class 1000 module.
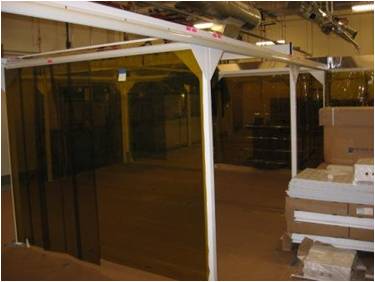
Top: Starting to install the soft plastic amber walls.